This is a simple tutorial that I write to easily remove the default gnome-panel in your Ubuntu. There are two ways that I know to remove the gnome-panel, I’m going to tell you how this can be done using either of the method.
Let’s get started  .
.
The First Method
This is the easiest method to remove the gnome-panel  , but there’s a little disadvantage using this method (see below for more information).
To remove gnome-panel, follow the following steps:
- Hit Alt+F2 (Gnome Run Application dialog) and open Gnome Configuration Editor by typing ‘gconf-editor’ into the box and hitting enter.
- Go to
/desktop/gnome/session/required_components. - At the right side of the window, double click on
panelentry and change the value to other dock application that you’re using to replace gnome-panel. e.g.avant-window-navigator,docky, oradeskbar. - Close the Gnome Configuration Editor and log out your session and log in back. The gnome-panel should disappear now. If you want to revert back, just change the
panelvalue back tognome-panel.
Pretty easy huh?  But as I said before, there’s a little disadvantage using this method. You’ll not be able to access Gnome Run Application dialog anymore
  (Alt+F2 button will not function) since gnome-panel is disabled, thus you need to use other application such as
 gmrun, gnome-do, kupfer, or synapse to replace the Gnome Run Application dialog.
If you want to remove gnome-panel but still wanted to access Gnome Run Application Dialog, follow the second method below.
The Second Method
This is the method that I use to remove the gnome-panel in my Ubuntu. This method did not actually remove the gnome-panel in your Ubuntu, it simply hide them  . That way you’ll still be able to access the Gnome Run Application Dialog (Alt+F2 shortcut).
Below are the steps to hide gnome-panel:
- First you need to remove the bottom panel in your Ubuntu, simply right click and select ‘Delete this panel’. Now there’s only top panel left.
- The next step is to remove all applet in top panel, again simply right click on the applet that you want to remove and select ‘Remove from panel’.
- Now that you’ve removed all applet on top panel (your top panel should be empty), hit Alt+F2 (Gnome Run Application dialog) and open Gnome Configuration Editor by typing ‘gconf-editor’ into the box and hitting enter.
- Go to
/apps/panel/toplevels/panel_0. - Now there are few things that we need to change. At the right side of the window, set the ‘auto_hide’ value to True. Then change the
auto_hide_sizevalue to 0. And last, change theunhide_delayvalue to 9999 (9999 milliseconds should be sufficient, you can increase the value if you want to). (see image below for reference)
- Close the Gnome Configuration Editor. That’s it!
 , your gnome-panel should be
 removedhidden. No need to restart or re-login.
If you want to revert back, simply change the entries values to their default value and add the default applets back to top panel.
Update (29 April 2011)
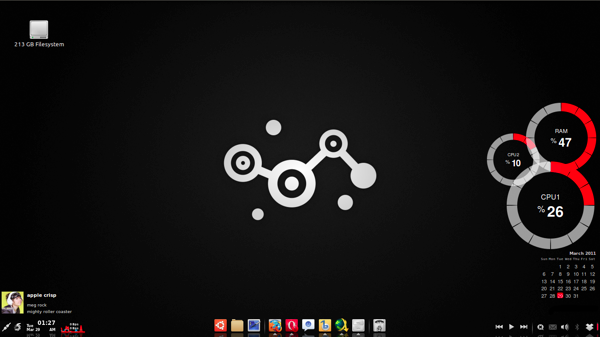
I noticed that using the second method, the gnome-panel’s shadow will still be visible in your desktop, as you can see in the screenshot below:

To Fix this problem, we’ll need to configure Compiz so that it’ll not decorate gnome-panel with shadow.
- First, you need to install the CompizConfig Settings Manager if you haven’t done so. Open the Terminal and type in the following:
sudo apt-get install compizconfig-settings-manager
- Open the CompizConfig Settings Manager (Preferences > CompizConfig Settings Manager) and go to the “Effects” section and select “Window Decoration”.
- Now, Under the “Shadow windows” you should see the default value: any. Change it to:
any & !(class=Gnome-panel)
- That should solve the gnome-panel shadow problem .